When I was in first year university, I was assigned a project to make a pop art painting of myself, or someone I knew. Upon completion of the project, I was quite happy with the result. Although there are a few imperfections with the copying, I think the painting turned out nice. I had a lot of fun making this pop art self portrait, and I was able to better my skills with grid transfers and detail painting. Below is a tutorial on how to make a pop art painting from start to finish.
What you will need:
- Four canvases that are the same size – I used flat canvases that I purchased in a pack from Michaels
- Paint – Make sure you have white and black paint to create the variations in tone
- Brushes
- Pencil and eraser
- Photo
- Photoshop or Photoshop Elements
Photoshop Instructions:
- Open Photoshop or Photoshop Elements (I used Photoshop Elements)
- Open the photo you want to use
- Resize the Photoshop canvas and image (Select “Image”, then “Resize”) so that is the same size as your canvas, or a mathematical division of the canvas size. If your canvas is 12 inches by 8 inches, you want to resize your Photoshop canvas and image size to 6 inches by 4 inches.
- Duplicate the background in your layers toolbar. You can right click and select duplicate, or you can use the short key “command + J”.
- Select “Image”, then “Mode”, and then “Grayscale”. If you are asked to flatten image, click yes. If you are asked to discard colour information, click yes.
- Now your duplicated layer has been flattened into your Background layer. Duplicate the background layer again, so that it looks like this:

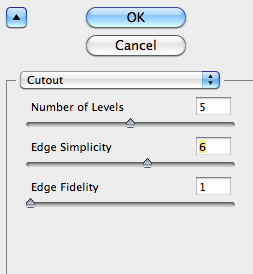
- With the Layer 1 layer selected, select “Filter”, then “Artistic”, and then “Cutout”.
- Now you can play with the Number of Levels, Edge Simplicity, and Edge Fidelity. The number of levels you choose equals the number of different colours you will have to use when you are panting. Here are the settings I used:

- The end result for the Photoshop photo:

Painting Instructions:
- Now you want to transfer the image you made in Photoshop onto each canvas. I chose to use a grid transfer method for mine, but you could also do a charcoal transfer, or use tracing paper.
- Select what type of colour scheme you want to use. The Colour Scheme Designer 3 is a great online tool for designing colour schemes.
- The number of colours that are in your Photoshop photo are the number of colours that you need to mix for your canvas. In my photo, there are 5 colours that range from light (white) to dark (black). Therefore, when you are mixing the colours, you want to have a colour that is equal in tone (lightness and darkness) to your black and white Photoshop photo.
- Paint! I recommend doing the largest parts first.
Example:
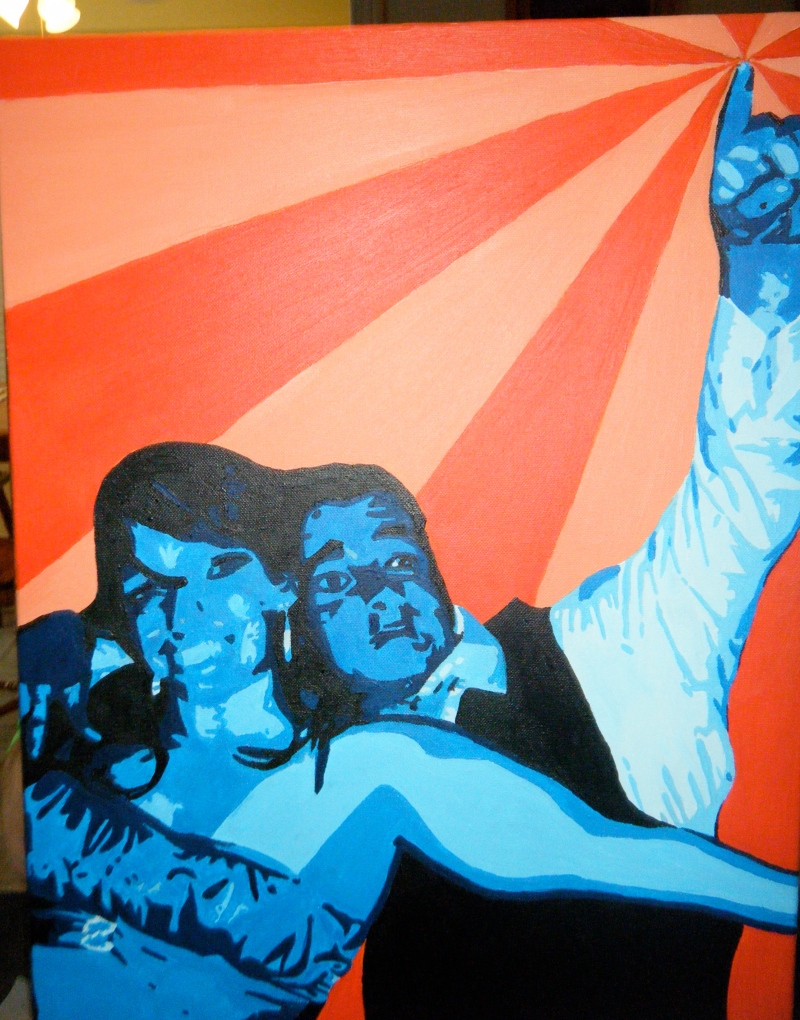
Here is another pop art painting I made a few years ago of my boyfriend and I at my high school prom.

BONUS: If you are looking for some colour inspiration, check out “Bubble Art” on the WordPress blog titled OscarAlonso. The blog is in Spanish, but even if you do not know the language, the artist’s bubble art work is breathtaking.
If you have any questions or comments, or would like to post a photo of your pop art painting, please feel free to contact me!


Reblogged this on MoMusiq.
Thanks for the reblog!
Your welcome